This is in a different post than Phase 1 so that it can be used on its own. At this point, it is assumed that you have bearings in your frame and they’re ready for crank assembly.
Now you’re going to need a few things for this.
1- Cranks (arms and spindle) [including any bolts needed]
2- Frame with bottom bracket assembly prepped
3- Chainwheel
4- Proper wrenches/tools [these can vary from one crank to another]
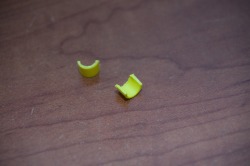
5- Crank spacers/Cone spacers
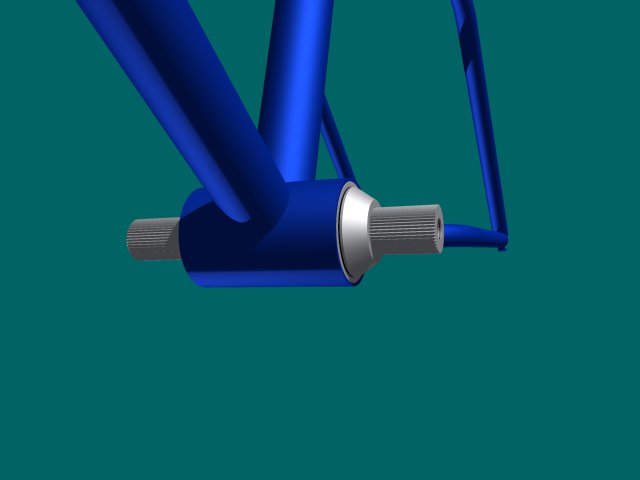
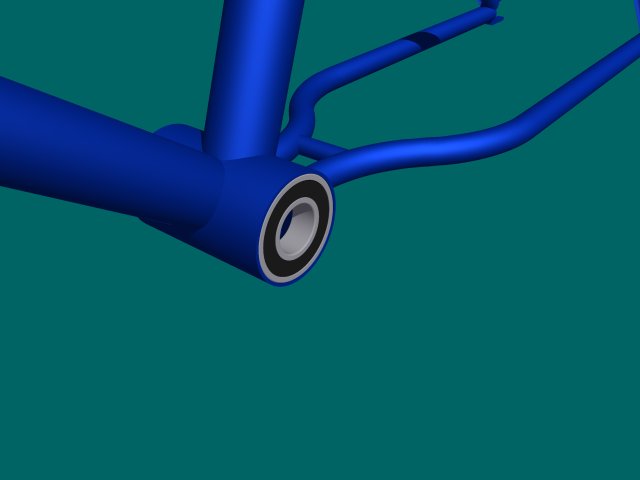
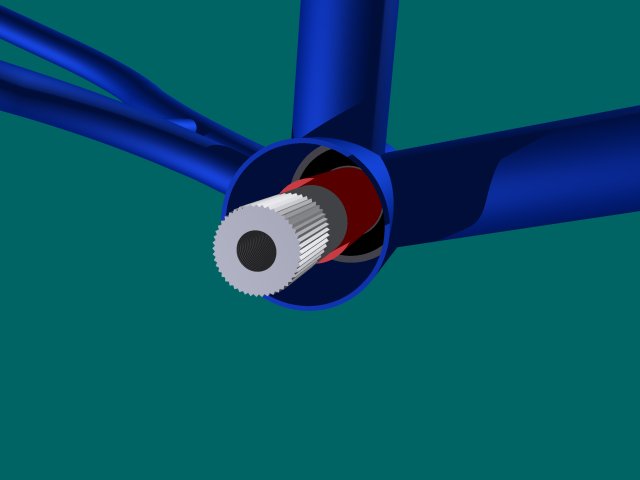
First, grease EVERYTHING. Every bolt, everywhere metal meets metal. I say that in almost every guide, but you really do need it. I see too many people run all of their stuff dry, and then get mad and confused when their parts rust themselves into their frames. Grease your spindle and place it through. Right now, your spindle direction doesn’t matter. Just put it in to the bearings.
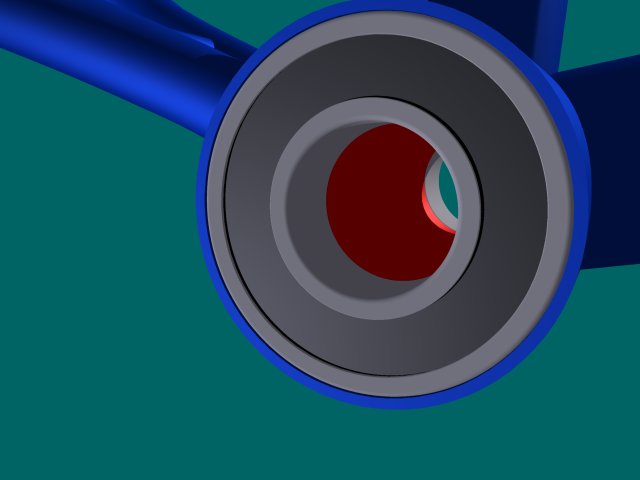
1- Place on the spacers/washers/cone spacer. (If you use cone spacers, use the wider one at this point).
Now you’re going to need a few things for this.
1- Cranks (arms and spindle) [including any bolts needed]
2- Frame with bottom bracket assembly prepped
3- Chainwheel
4- Proper wrenches/tools [these can vary from one crank to another]
5- Crank spacers/Cone spacers
First, grease EVERYTHING. Every bolt, everywhere metal meets metal. I say that in almost every guide, but you really do need it. I see too many people run all of their stuff dry, and then get mad and confused when their parts rust themselves into their frames. Grease your spindle and place it through. Right now, your spindle direction doesn’t matter. Just put it in to the bearings.
1- Place on the spacers/washers/cone spacer. (If you use cone spacers, use the wider one at this point).
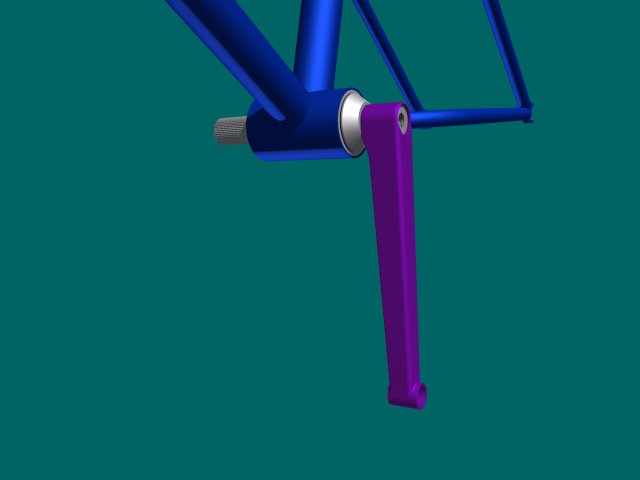
2- Put on the Non-Drive Side crank arm. This is where I have to go with using drive and non-drive to designate sides. Most bikes have the driveline on the right, however there are plenty (myself included) who run their driveline on the left. Also, this is where I have to split the guide in to two different colors. Blue is for cranks that have pinch bolts, Green is for cranks that do not (IE, Primo vs. Profle).
Slide the crank arm on (greasing the spindle interface). At this point, it doesn’t matter how much of the spindle is on the arm, just use “enough” (take a judgment call here). On the end of the spindle, thread on a crank bolt. Do not tighten the pinch bolts yet.
Place the crank arm on the spindle enough that it will hold itself on. On the end of the spindle, thread on a crank bolt. These bolts are what hold the arm on to the spindle. Tighten it down. This is where it gets tricky. Each arm should have about the same amount of the spindle in it, yet you cannot see the spindle when the arm is on there! My solution…is to simply guess. Another option is to put the arm on before you put the spindle in.
If you have a 2-piece crank design, just continue on to step 3.
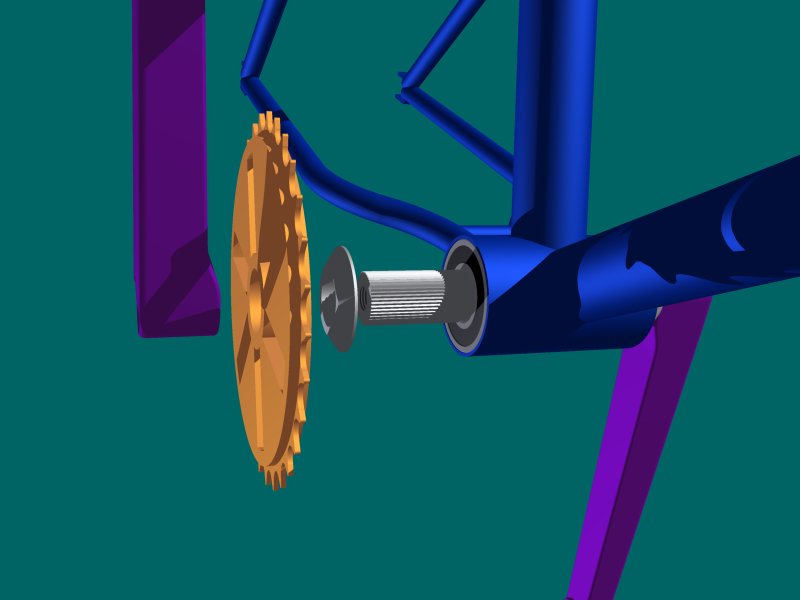
3- Now is time for the drive-side assembly
Do the same thing as the other side. Place the other (thinner) cone spacer on if you are using them. Next, the chainwheel*. After the chainwheel (or sprocket, depends what you call it), put on the crank arm. Tighten down the cranks so that there is no slack left in the spindle. We will address the slack in step 5. Do not put the chain on yet.
Place the cone spacer on to the spindle (if you are using them). Then put on the sprocket*, and crank arm. Now this is the tricky part. I assume that if you are reading this section, you are using 48-spline cranks. I will be the first to say: Those arms are not the easiest to line up straight. Your best bet is to try. They are annoying at first, but I assume they get easier with time. I honestly do not have enough experience to know this, I have been using pinch-bolt style for my whole riding career basically. After the arm is resting on the spindle, thread in the other crank bolt. Tighten it down. Tighten it down so that there is just enough slack to move the chainwheel* (or sprocket, depends what you call it) around. This slack will be addressed in step 5.
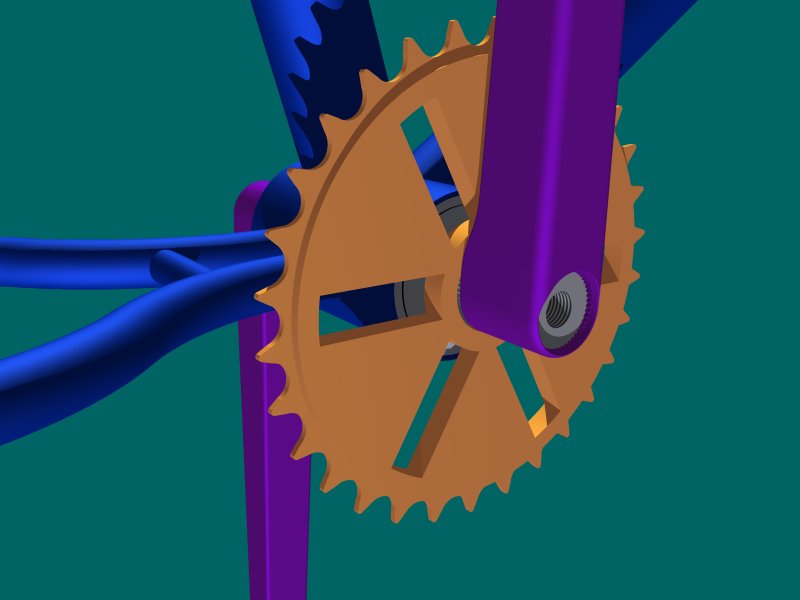
*If you are using a guard chainwheel, or a directional chain wheel, put it on which way you want. Some people put guard chainwheels facing inwards, so their cranks and chainwheel will work correctly together. After the chainwheel is on, put the drive bolt through and tighten it up. Then back it out about one quarter of a turn or so.
If you are using a spline drive chainwheel, ignore drive bolts.
**Also, if you need a chainwheel adaptor for your chainwheel, this goes on BEFORE the chainwheel in the assembly. The adapting part should face outwards, and the chainwheel will rest on that.
Do the same thing as the other side. Place the other (thinner) cone spacer on if you are using them. Next, the chainwheel*. After the chainwheel (or sprocket, depends what you call it), put on the crank arm. Tighten down the cranks so that there is no slack left in the spindle. We will address the slack in step 5. Do not put the chain on yet.
Place the cone spacer on to the spindle (if you are using them). Then put on the sprocket*, and crank arm. Now this is the tricky part. I assume that if you are reading this section, you are using 48-spline cranks. I will be the first to say: Those arms are not the easiest to line up straight. Your best bet is to try. They are annoying at first, but I assume they get easier with time. I honestly do not have enough experience to know this, I have been using pinch-bolt style for my whole riding career basically. After the arm is resting on the spindle, thread in the other crank bolt. Tighten it down. Tighten it down so that there is just enough slack to move the chainwheel* (or sprocket, depends what you call it) around. This slack will be addressed in step 5.
*If you are using a guard chainwheel, or a directional chain wheel, put it on which way you want. Some people put guard chainwheels facing inwards, so their cranks and chainwheel will work correctly together. After the chainwheel is on, put the drive bolt through and tighten it up. Then back it out about one quarter of a turn or so.
If you are using a spline drive chainwheel, ignore drive bolts.
**Also, if you need a chainwheel adaptor for your chainwheel, this goes on BEFORE the chainwheel in the assembly. The adapting part should face outwards, and the chainwheel will rest on that.
4- Well, I promised it and so I might as well go over getting rid of that slack and fine-tuning your cranks.
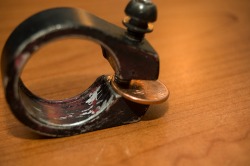
Having pinch bolts for this part is a HUGE advantage. Because the cranks use pinch bolts, there’s a gap in the cranks. You can use that gap to your advantage. Look in that gap and see how much spindle is on each crank arm. Try to get them even by adjusting the crank bolts (the bolts on the end of the spindle), either loosening/tightening each side. When you are happy where your spindle is, follow these next steps in order:
1- Tighten the drive bolt down verrrry tight.
2- Tighten each crank bolt down pretty tight. Enough to put the arms and whole assembly under the right pressure
3- Tigthen the pinch bolts. If you have dual pinch bolts, tighten them alternatively with quarter to half turns each, until both are tightened.
4- Crank down the crank bolts. Put them up tight.
This is where I’m happy I have pinch bolts. I don’t know how to check the spindle in each arm, other than marking the spindle beforehand. Now, this may be backtracking, but hopefully you read this before you’re out in the garage assembling your crankset. Before you put on the other arm, do a mock assembly. Put the chainwheel on and spacers and all that, and put the cranks NEXT TO the spindle, so that you can see where the spindle will be for each one. If you want to adjust it, do so. After you are happy with where your spindle is seated in your cranks, mark a line on the non-drive-side section of the spindle where the arm should go up to. Now, put the arm back on and tighten it down UP TO THAT MARK. The crank bolt will prevent the arm from moving at all. Now, once your spindle is situated where you want it, it should be completely assembled, yet some slack in it. This part is simple. Just tighten the drive bolt, then the crank bolts. The crank bolts don’t need to be so tight, but they should be pretty snug.
After that, you’re good to go! Just put on the chain and ride. Now, there is something to keep in mind about the chain is that your chainline should be straight (The chainwheel and rear driver are directly behind/in front of each other). But, I will go over chainlines in another article very soon.
Well, congratulations, your cranks are now assembled! Doing them once won’t make you an expert, and thinking “pfft, now I can do everything and anything to do with cranks!” is a misconception. This guide just went over assembly, not any issues that may arise, or anything like that.
FAQ’s
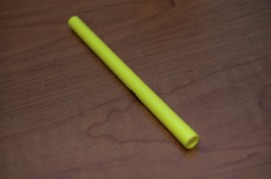
Q: Do I really need the tube spacer?
A: I don’t know where to start with this. There are countless people who say something along the lines of “it annoys me…so I don’t put it in.” On the other hand, there are people who say that it is the mechanically correct thing to do, and people will ruin bearings without using it. Counter arguments come out about people who have been running a bike without one for years.
Honestly, if you don’t want to put it on your bike, I cannot stop you from ignoring it. However, I can say that if I were assembling a set of cranks, I wouldn’t think twice about putting it in. I wouldn’t leave it off of a bike. Sure, some people can get lucky and not need it, but there’s a reason it was made. Unfortunately, that could probably fill up another whole article.
Q: My cranks are creaking. What’s wrong?
A: Grease. Please. Also, check that your chainline is straight and your chain is lubed up.
This guide may have left out a few things. If you have any questions, please leave them in the comments and I will get to them ASAP.
Having pinch bolts for this part is a HUGE advantage. Because the cranks use pinch bolts, there’s a gap in the cranks. You can use that gap to your advantage. Look in that gap and see how much spindle is on each crank arm. Try to get them even by adjusting the crank bolts (the bolts on the end of the spindle), either loosening/tightening each side. When you are happy where your spindle is, follow these next steps in order:
1- Tighten the drive bolt down verrrry tight.
2- Tighten each crank bolt down pretty tight. Enough to put the arms and whole assembly under the right pressure
3- Tigthen the pinch bolts. If you have dual pinch bolts, tighten them alternatively with quarter to half turns each, until both are tightened.
4- Crank down the crank bolts. Put them up tight.
This is where I’m happy I have pinch bolts. I don’t know how to check the spindle in each arm, other than marking the spindle beforehand. Now, this may be backtracking, but hopefully you read this before you’re out in the garage assembling your crankset. Before you put on the other arm, do a mock assembly. Put the chainwheel on and spacers and all that, and put the cranks NEXT TO the spindle, so that you can see where the spindle will be for each one. If you want to adjust it, do so. After you are happy with where your spindle is seated in your cranks, mark a line on the non-drive-side section of the spindle where the arm should go up to. Now, put the arm back on and tighten it down UP TO THAT MARK. The crank bolt will prevent the arm from moving at all. Now, once your spindle is situated where you want it, it should be completely assembled, yet some slack in it. This part is simple. Just tighten the drive bolt, then the crank bolts. The crank bolts don’t need to be so tight, but they should be pretty snug.
After that, you’re good to go! Just put on the chain and ride. Now, there is something to keep in mind about the chain is that your chainline should be straight (The chainwheel and rear driver are directly behind/in front of each other). But, I will go over chainlines in another article very soon.
Well, congratulations, your cranks are now assembled! Doing them once won’t make you an expert, and thinking “pfft, now I can do everything and anything to do with cranks!” is a misconception. This guide just went over assembly, not any issues that may arise, or anything like that.
FAQ’s
Q: Do I really need the tube spacer?
A: I don’t know where to start with this. There are countless people who say something along the lines of “it annoys me…so I don’t put it in.” On the other hand, there are people who say that it is the mechanically correct thing to do, and people will ruin bearings without using it. Counter arguments come out about people who have been running a bike without one for years.
Honestly, if you don’t want to put it on your bike, I cannot stop you from ignoring it. However, I can say that if I were assembling a set of cranks, I wouldn’t think twice about putting it in. I wouldn’t leave it off of a bike. Sure, some people can get lucky and not need it, but there’s a reason it was made. Unfortunately, that could probably fill up another whole article.
Q: My cranks are creaking. What’s wrong?
A: Grease. Please. Also, check that your chainline is straight and your chain is lubed up.
This guide may have left out a few things. If you have any questions, please leave them in the comments and I will get to them ASAP.


 RSS Feed
